
Before you start
Use an authorised account in your company’s installation. Confirm your service and location scope. Test configuration changes with fictional records before publishing them for employees.
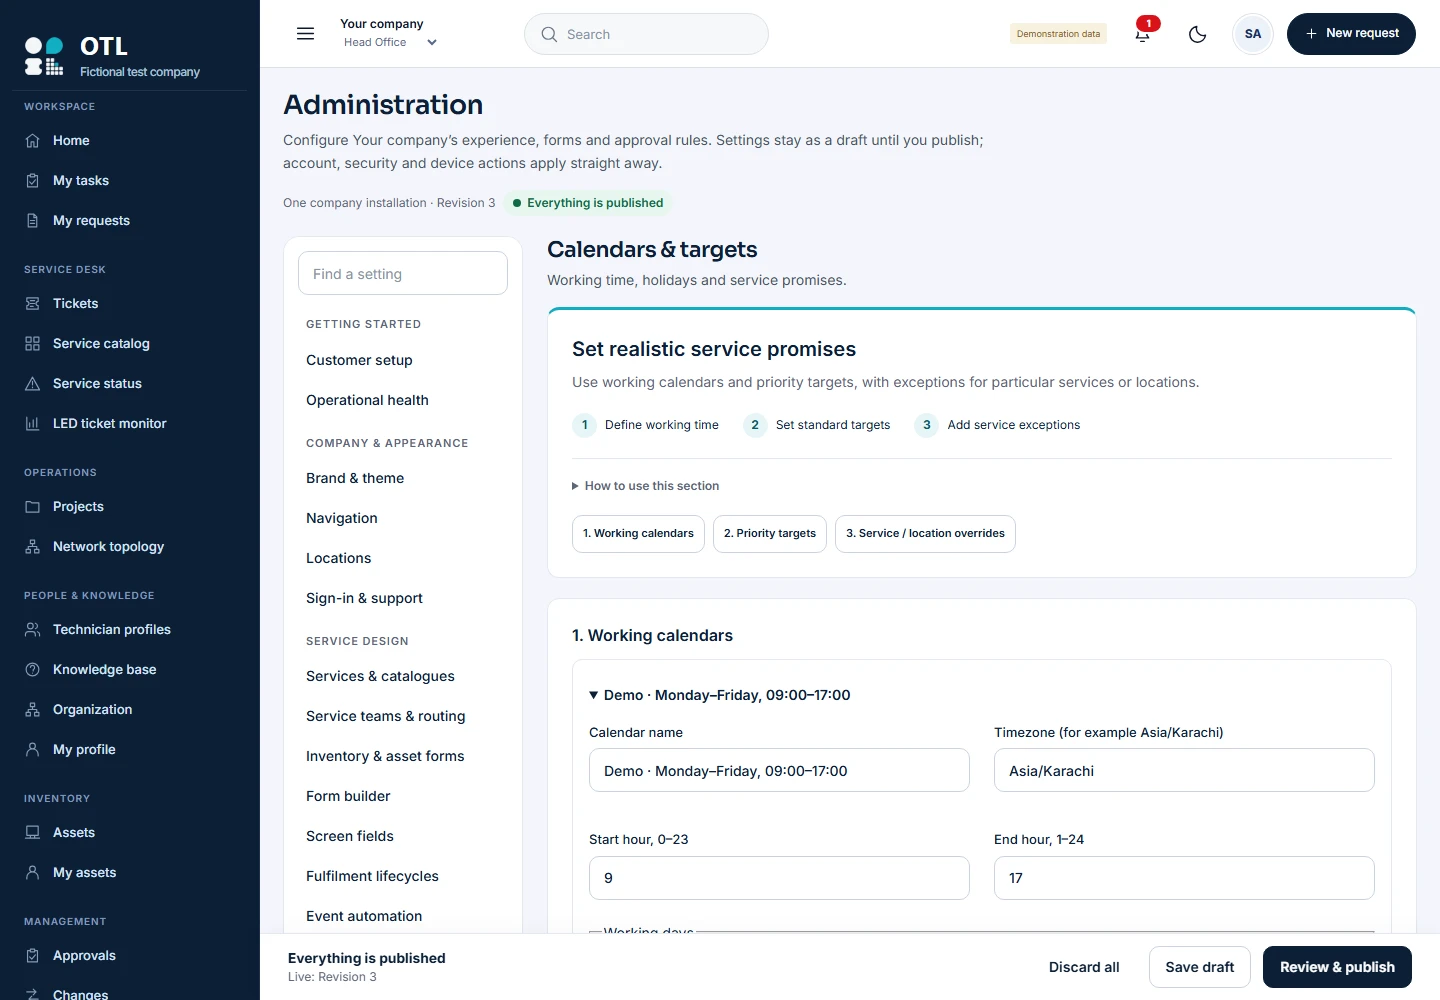
Step-by-step walkthrough
Agree the service commitment
Define response and resolution expectations separately for each priority. Record which hours count and which waiting states may pause the clock.
Open Calendars & targets
In administration, open the Working calendars & service targets panel. Review the existing configuration before creating another calendar.
Create a calendar
Enter Calendar name and Timezone. Choose the timezone used by the support team rather than relying on the browser timezone.
Set working hours
Enter Start hour and End hour and select the working weekdays. Confirm the end follows the start and the schedule reflects actual staffed hours.
Add holidays
Enter holidays as one YYYY-MM-DD date per line. Review the year and dates before adding the calendar.
Choose the calendar for targets
Under priority targets, select the Working calendar. Use an appropriate scoped policy where the configuration provides one for the service context.
Enter response targets
Set Response target in working minutes for each priority. For example, 60 means one working hour, not necessarily one elapsed hour.
Enter resolution targets and pauses
Set Resolution target in working minutes. Review Pending and Waiting for requester pause options against the agreed policy.
Publish a tested policy
Preview representative requests around the end of a working day, weekends and holidays. Save and publish only after the computed targets match expectations.
Verify a new ticket
Create a new request and check its displayed deadlines. Existing tickets retain their original targets; publishing a new policy is not a retrospective rewrite.
Check the result
Repeat the journey as the intended user, including a user outside the permitted scope. Confirm the visible choices, saved record and history match the policy. If an action is absent, check the user’s permissions and the published configuration before changing the workflow.
Configuration labels and available actions depend on the installed version and your role. These instructions describe the current local build.