
Before you start
Use an authorised account in your company’s installation. Confirm your service and location scope. Test configuration changes with fictional records before publishing them for employees.
Step-by-step walkthrough
Define the services employees need
List recognisable choices such as laptop support, SAP access and application errors. Separate the service name from the team responsible for it.
Open Services & catalogues
In One Ticket Less administration, open Service types & catalogues. Use New service type and select the appropriate Service team: IT infrastructure or IT applications.
Add the service type
Choose Add service type. Give the service a customer-facing name and leave Enabled selected when it should be available. These names do not create new permission engines.
Create a catalogue entry
Choose Add catalogue entry, enter its Catalogue entry name and select its Service type. Create separate entries when the questions or approval policy differ.
Choose the request form
Select Support / access request or Equipment request as appropriate. The existing VPN entry uses its dedicated VPN access form.
Set visibility and order
Set Display order and Enabled. For equipment, review employee, HR and new-joiner availability separately; these audiences need not see the same choices.
Define the questions
Use Form builder and the applicable request configuration to collect the information the team needs. Give required fields clear labels and check conditional questions with each choice.
Connect approvals and assignment
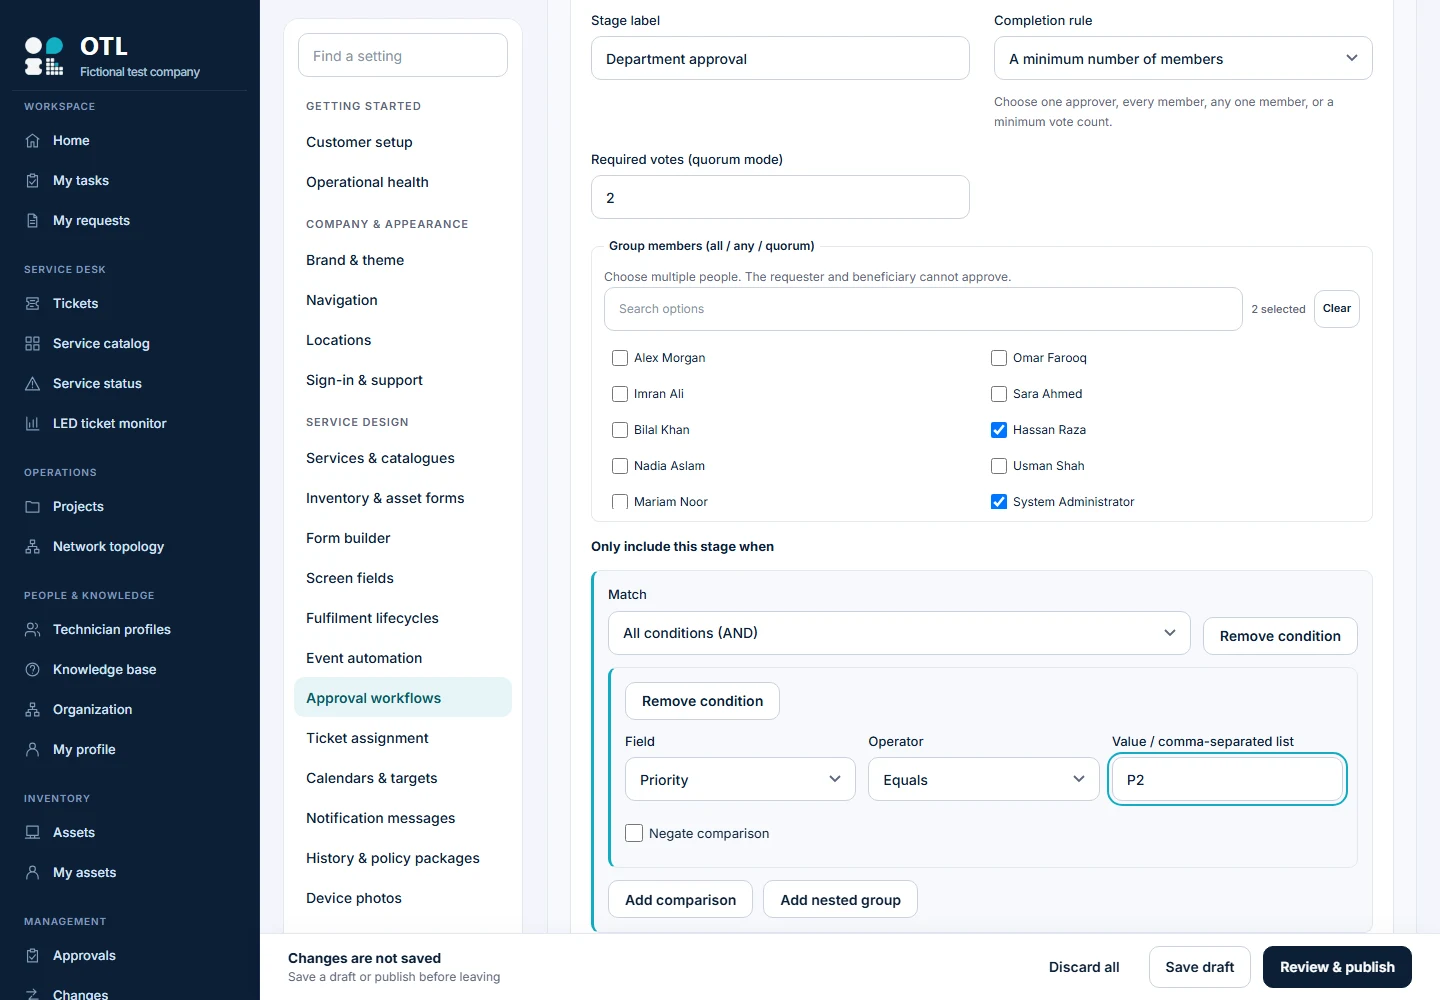
Create matching approval conditions and assignment rules. For example, application access can require a manager decision and then manual assignment to the Applications team.
Preview before publication
Use the rule simulator with an employee, department, location and service that should match. Also test a service that should not match so broad rules do not capture it.
Publish and test as an employee
Publish the reviewed settings, open the employee catalogue and submit a test request. Compare the actual approval route and selected team with the preview.
Check the result
Repeat the journey as the intended user, including a user outside the permitted scope. Confirm the visible choices, saved record and history match the policy. If an action is absent, check the user’s permissions and the published configuration before changing the workflow.
Configuration labels and available actions depend on the installed version and your role. These instructions describe the current local build.