
Before you start
Use an authorised account in your company’s installation. Confirm your service and location scope. Test configuration changes with fictional records before publishing them for employees.
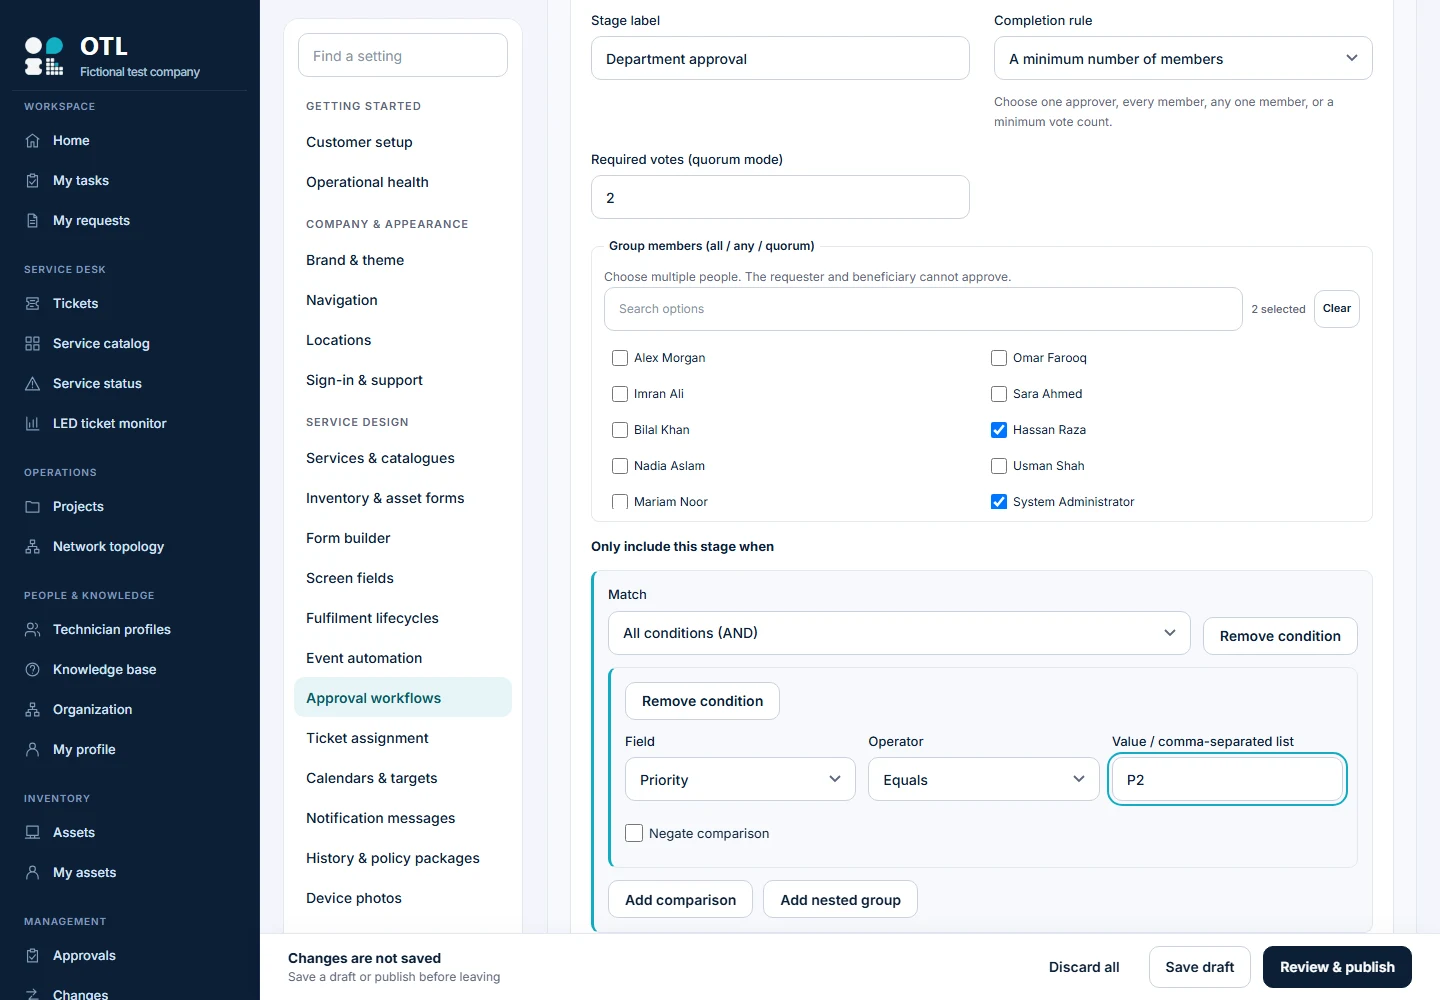
Step-by-step walkthrough
Confirm who may request
New-employee equipment is available to users with HR location permissions. Confirm the HR requester has the correct site scope before testing.
Make the catalogue entry available
In Services & catalogues, enable the equipment entry for HR and for new-joiner equipment. Keep employee visibility separate if needed.
Set the onboarding approval policy
Configure approval conditions for the onboarding request type and relevant department or location. Choose the authorities required by that company; do not assume every company uses HOD then IT.
Open the equipment request
As the authorised HR user, choose For a new employee — laptop/assets instead of For myself.
Identify the upcoming employee
Enter Upcoming employee name, Designation and Department. Add Expected joining date when known. Check the service location populated from the selected department.
Specify equipment and justification
Choose the available equipment requirements and explain the business need. Confirm quantities and distinguish physical equipment from access requests.
Review and submit
Check the request summary and any approval preview. Submit and retain the reference so HR and IT follow the same record.
Prepare after the required decisions
Follow the ticket approvals and equipment fulfilment controls. Preparation does not mean the equipment has already been issued to the employee.
Link the employee account
Before handover, use Link employee account. Select an active eligible account matching the employee and organisational context; do not use the HR requester as the recipient.
Complete the handover
Issue the recorded asset to the linked employee and follow the required receipt confirmation. Check the asset custody, linked ticket and movement history agree.
Check the result
Repeat the journey as the intended user, including a user outside the permitted scope. Confirm the visible choices, saved record and history match the policy. If an action is absent, check the user’s permissions and the published configuration before changing the workflow.
Configuration labels and available actions depend on the installed version and your role. These instructions describe the current local build.